How to Set Up A Voiceover Home Studio on a Budget
We’ve outlined everything you need to set up a home studio on a budget – so you can deliver professional voice recordings while skipping the pro studio fees!
We break down the essentials you need and what it costs to set up a home voiceover studio on a budget.
There’s never been a better time to become a voiceover artist or voice actor. Advancements in sound technology and platforms like Fiverr are making it easier than ever to find work and create professional recordings from home.
Whether you’re looking to get into voice work or want to start recording from the comfort of your home, this guide can help. Below, we’ve outlined how you can set up a home voiceover studio without breaking the bank – so you can deliver professional voiceover recordings while skipping the pro studio fees!
Professional voiceover recording essentials
Before you invest in a home studio setup, you should understand the essentials for high-quality recording. These include more than just the physical gear, but the recording environment itself. Here’s what you’ll need to consider:
- Your acoustic environment: Your recording space must sound ‘dead’ i.e. the environment doesn’t echo or reflect sounds.
- Background noises: Make sure your space is free from background noise. Things to watch out for include household appliances, humming lights, computer fans, and neighbourhood sounds (traffic, barking dogs, etc.).
- Your microphone technique: To help your voice sound clear and natural, make sure your microphone is positioned correctly. This is usually around 6-8 inches away from your face. You may also need to attach a pop filter to reduce harsh ‘popping’ sounds when enunciating words (more on this below!).
- Microphone quality: You don’t have to spend hundreds on a new microphone to sound good, but your mic must be able to capture your voice clearly.
- Connections: Cables and interfaces are often an afterthought, but these can affect the quality of your recording too, so don’t ignore them!
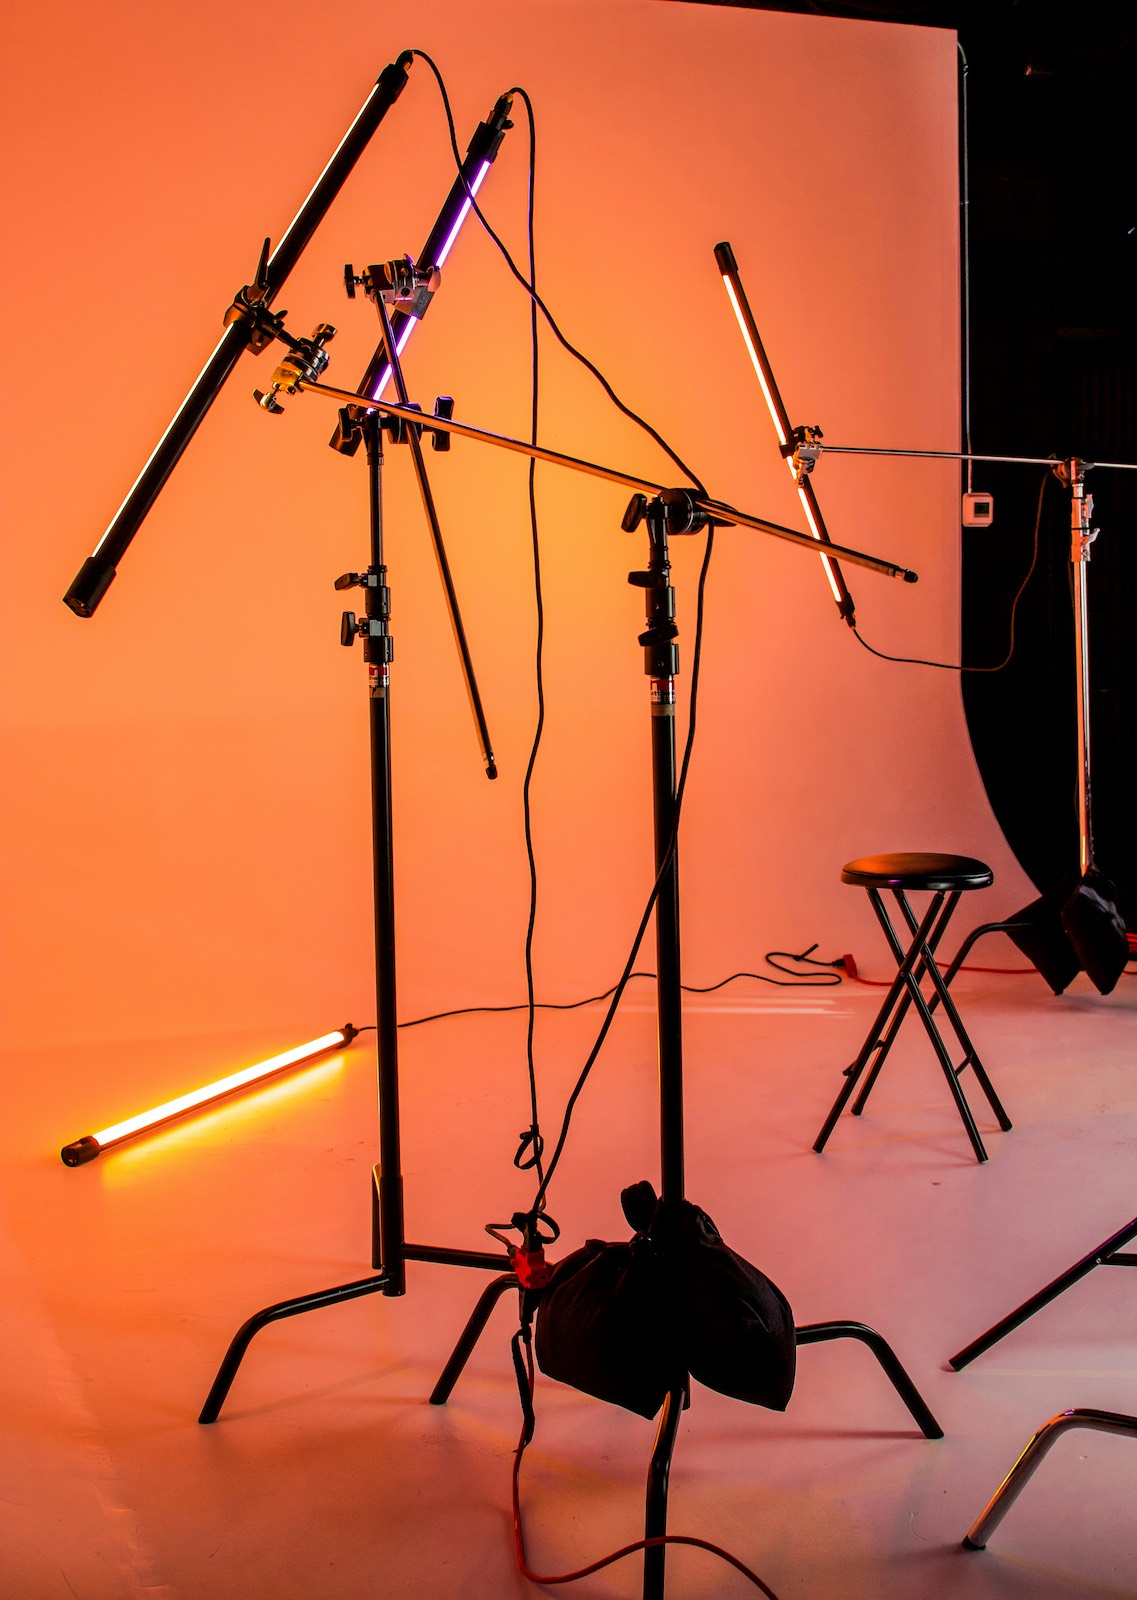
Acoustics
Even the most expensive microphone in the world will produce poor-quality results if your acoustics are bad. That’s why you should always focus on optimising your recording environment before investing in expensive equipment.
Here are a few ways you can set up your recording space on a budget:
Record inside your wardrobe
It may sound silly, but wardrobes tend to have amazing acoustics because clothes are excellent at absorbing sounds. If your wardrobe is big enough to sit in comfortably with your gear, this could be a great option – and it’s completely free!
Build a recording ‘fort’
If your wardrobe isn’t a suitable recording space, you could create a recording fort using sofa cushions, blankets, duvets, or curtains.
Acoustic wall panels
If you have a small budget for soundproofing your home studio, you could invest in some cheap acoustic wall panels for about £30 on Amazon. They’re easy to install – some are even self-adhesive – and they’ll do a great job of absorbing background noise and reducing echo.
Portable vocal booth
If you’re happy to spend some money on your recording space, you could invest in a small portable vocal booth for about £40-£50. While this won’t be as effective as a full-sized industry-grade vocal booth, it can still greatly improve the quality of your recordings. Portable vocal booths also look more professional than the above DIY options, and will suit you better if you want to set up a permanent home studio.
Reduce background noise
The biggest challenge for most home voiceover artists is background noise. Homes and neighbourhoods can be super noisy, and we often don’t even notice it until it’s time to record!
When setting up your home studio, choose a room with minimal potential background noise and where you’re unlikely to be disturbed or hear other people talking. Bedrooms are typically a good option as they tend to have a lot of soft furnishings that can help absorb sounds e.g. duvets, carpets, clothes, etc.
Other ways to reduce noise include:
- Record during quiet times in your home – this could be early mornings, late evenings, or simply when you’re alone.
- Switch off unnecessary electronics or appliances – these can create fanning or humming sounds.
- Close your curtains (if you don’t have any, you could hang a blanket from a curtain rail or pin it onto the wall).
- Surround your space with cushions.
- Turn down your microphone preamp – this can help get rid of static background noise.
- Use background noise removal tools in post-production (more on this later).
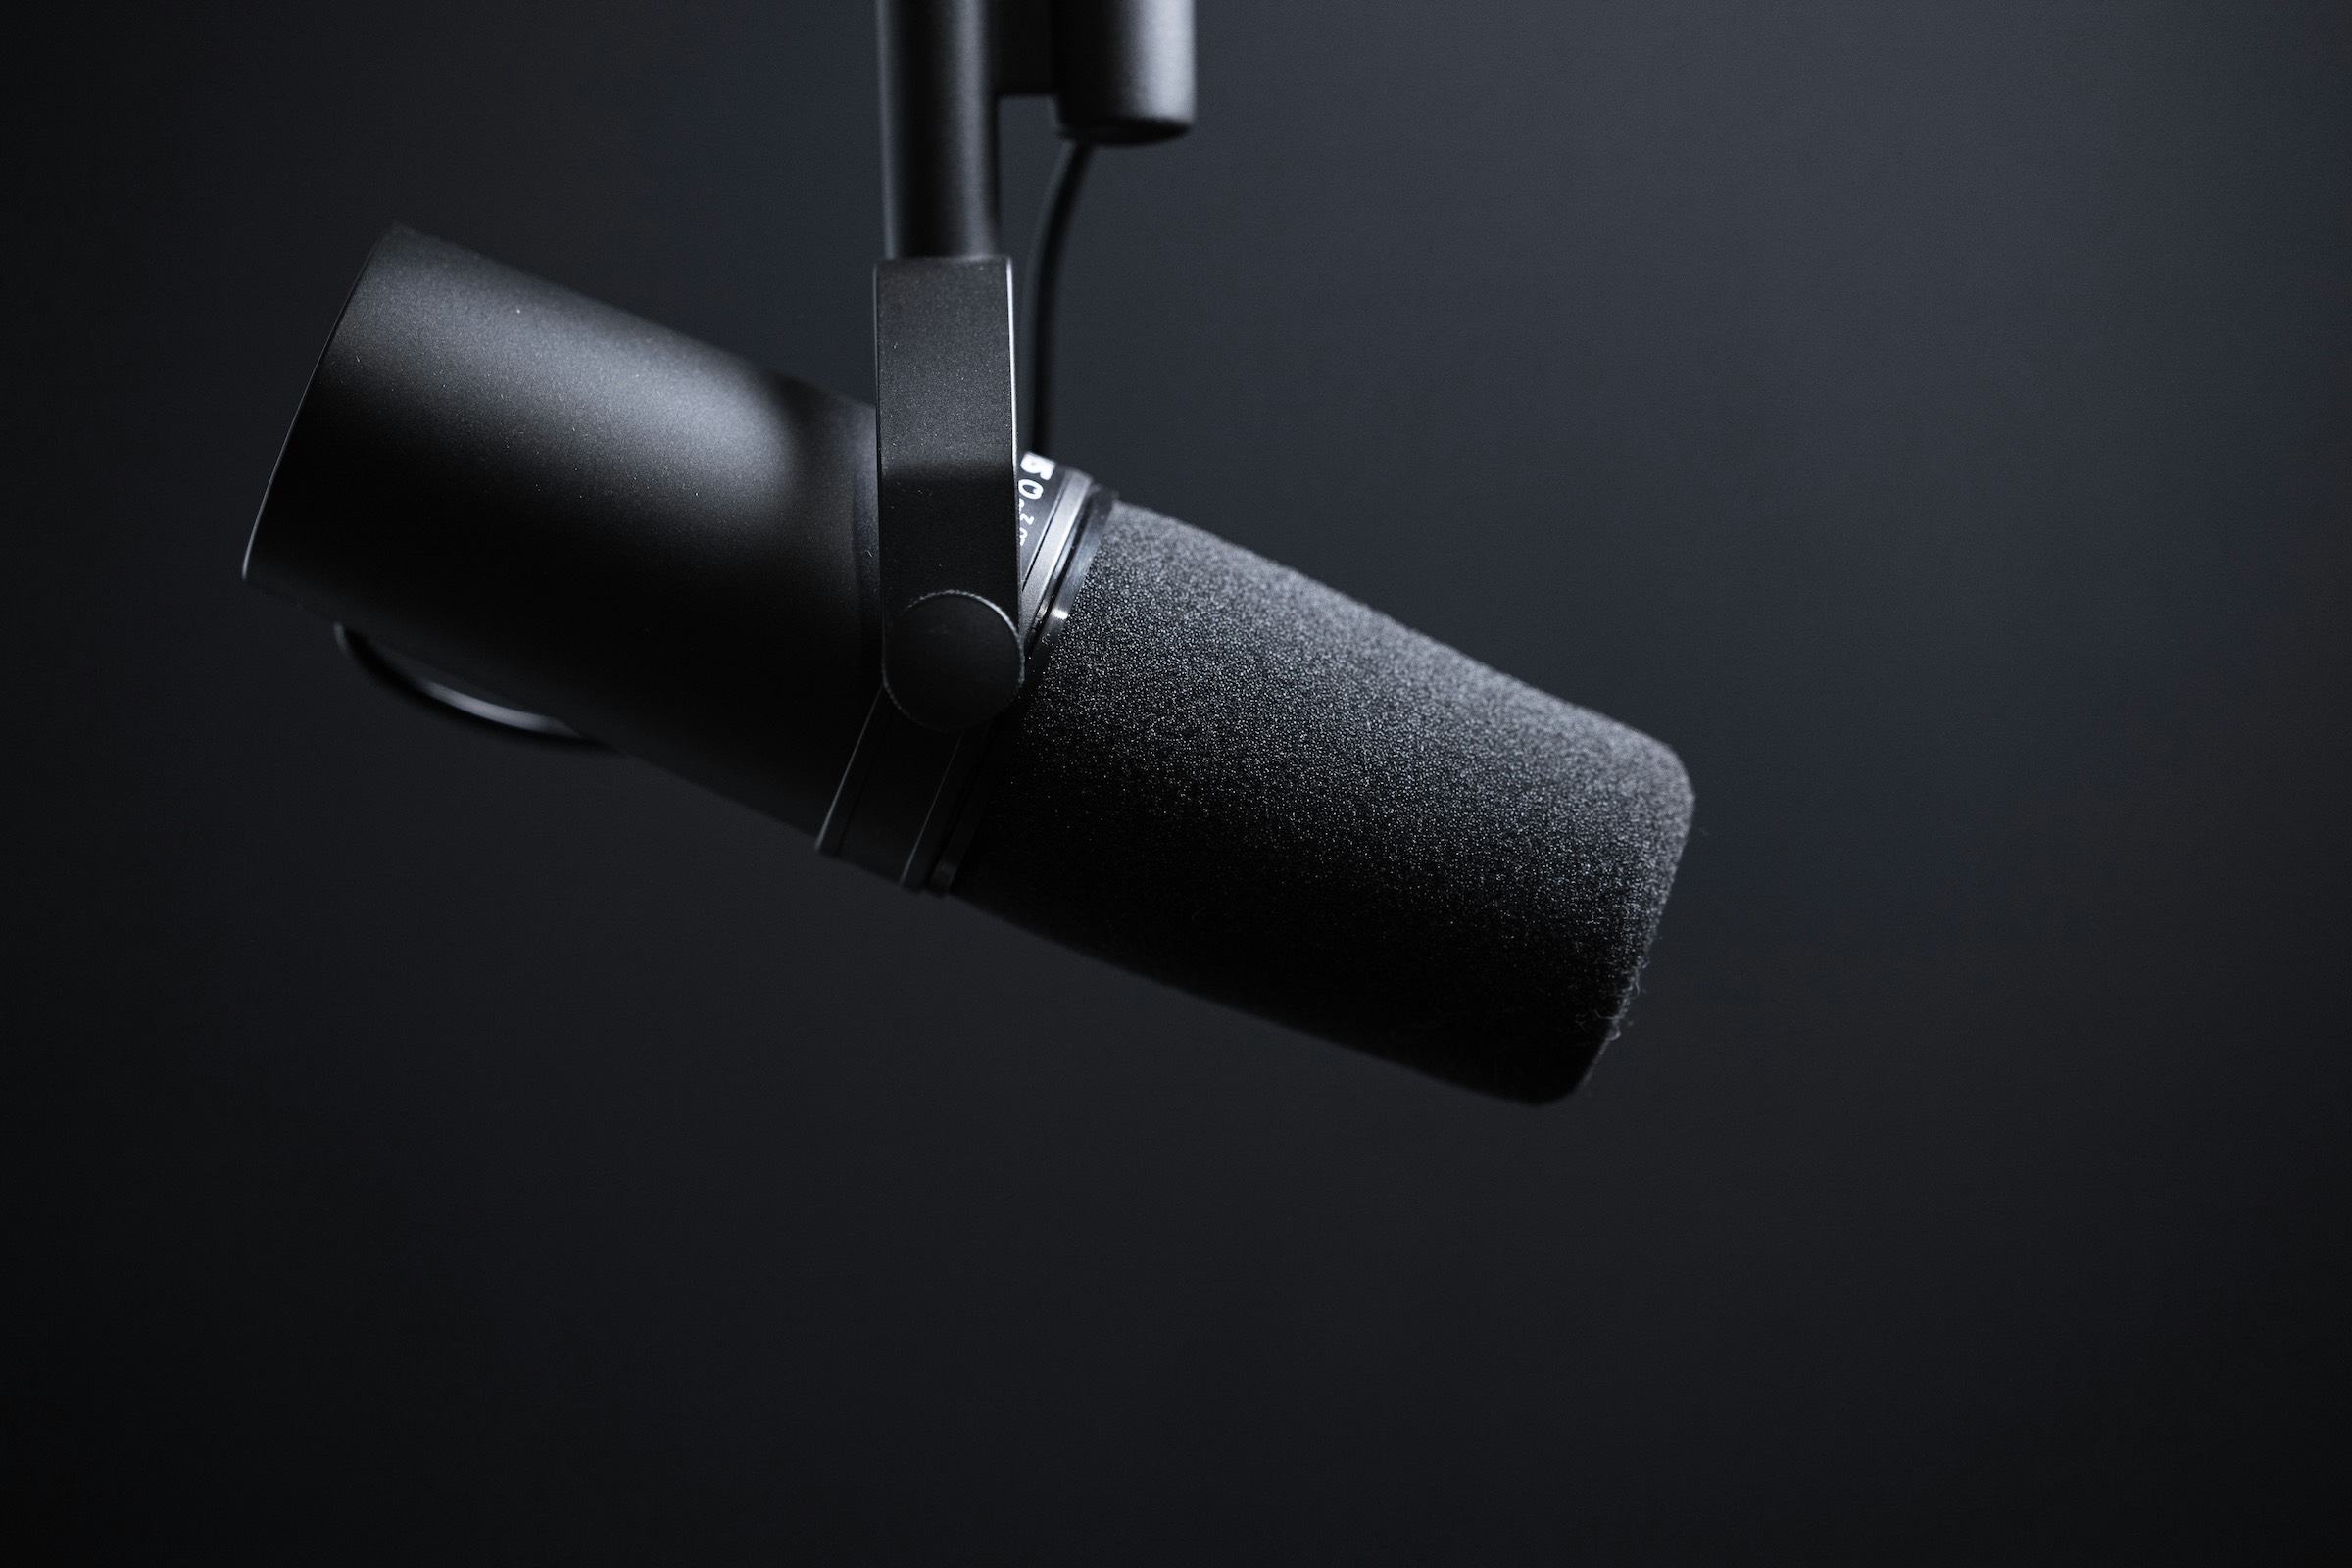
Microphone
When it comes to choosing a microphone for voiceover artists and voice actors, you have two options: USB and XLR. We’ve outlined the pros and cons of each in the table below.
USB microphone pros and cons
| Pros | Cons |
|---|---|
| Tend to be easier to use and set up – you just have to plug them into your computer. | Less control over audio gain and tone. |
| Often cheaper. | Audio quality is typically lower than XLR setups. |
| Built-in interface. | Might produce a small level of background noise. |
| Portable – perfect for travelers. | Limited upgrade options. |
XLR microphone pros and cons
| Pros | Cons |
|---|---|
| Professional grade – used in many vocal studios. | More expensive – requires external equipment like an audio interface and preamp. |
| You have more control over your sound through the audio interface. | More complex for beginners. |
| Option to upgrade individual components (microphone, interface, preamp). | Less portable – more gear to carry around. |
| Works well with acoustic treatment and post-processing. |
Many seasoned artists argue that an XLR microphone is the only viable option if you want to do voiceover work professionally. But that’s not to say that it’s impossible to work with a USB microphone. If you’re just getting started and want to keep costs down,a USB mic could be a good short-term option.
Which microphone should you buy?
Your microphone isn’t something you should cheap out on, even if you have a small budget. A cheap microphone just won’t sound good, and if you can’t produce quality recordings, you’ll struggle to win or retain clients.
That said, there are some great options out there available for under £300. Some of the most popular and highly rated include:
- Shure MV7+ (USB) – £244
- Rode NT1 5th Generation (offers USB and XLR connectivity) – £204
- Logitech Yeti Studio (XLR) – £299.99
Buy secondhand for a better price
If the above microphones are out of your budget, you might want to consider buying them secondhand. Plenty of musicians, voice artists and podcasters sell their old equipment after they upgrade – usually in perfect working order. You won’t get the product warranty this way, but the equipment should be reliable, and the savings generally outweigh the risk.
Check reputable secondhand sites like CeX and Reverb to shop secondhand equipment with the added reassurance of buyer protection.
Audio interface
You’ll need an audio interface to record with an XLR microphone. An audio interface powers the mic, controls the sound levels, and converts your voice into digital audio.
Like microphones, audio interfaces can vary in price depending on quality and brand. For voiceover artists who require something small and easy to use, Focusrite’s Scarlett Solo 4th Generation audio interface comes highly recommended. It’s more affordable than other makes and models too, coming in at around £140. You also have the option to purchase one refurbished for much cheaper, or buy the previous generation for £100.
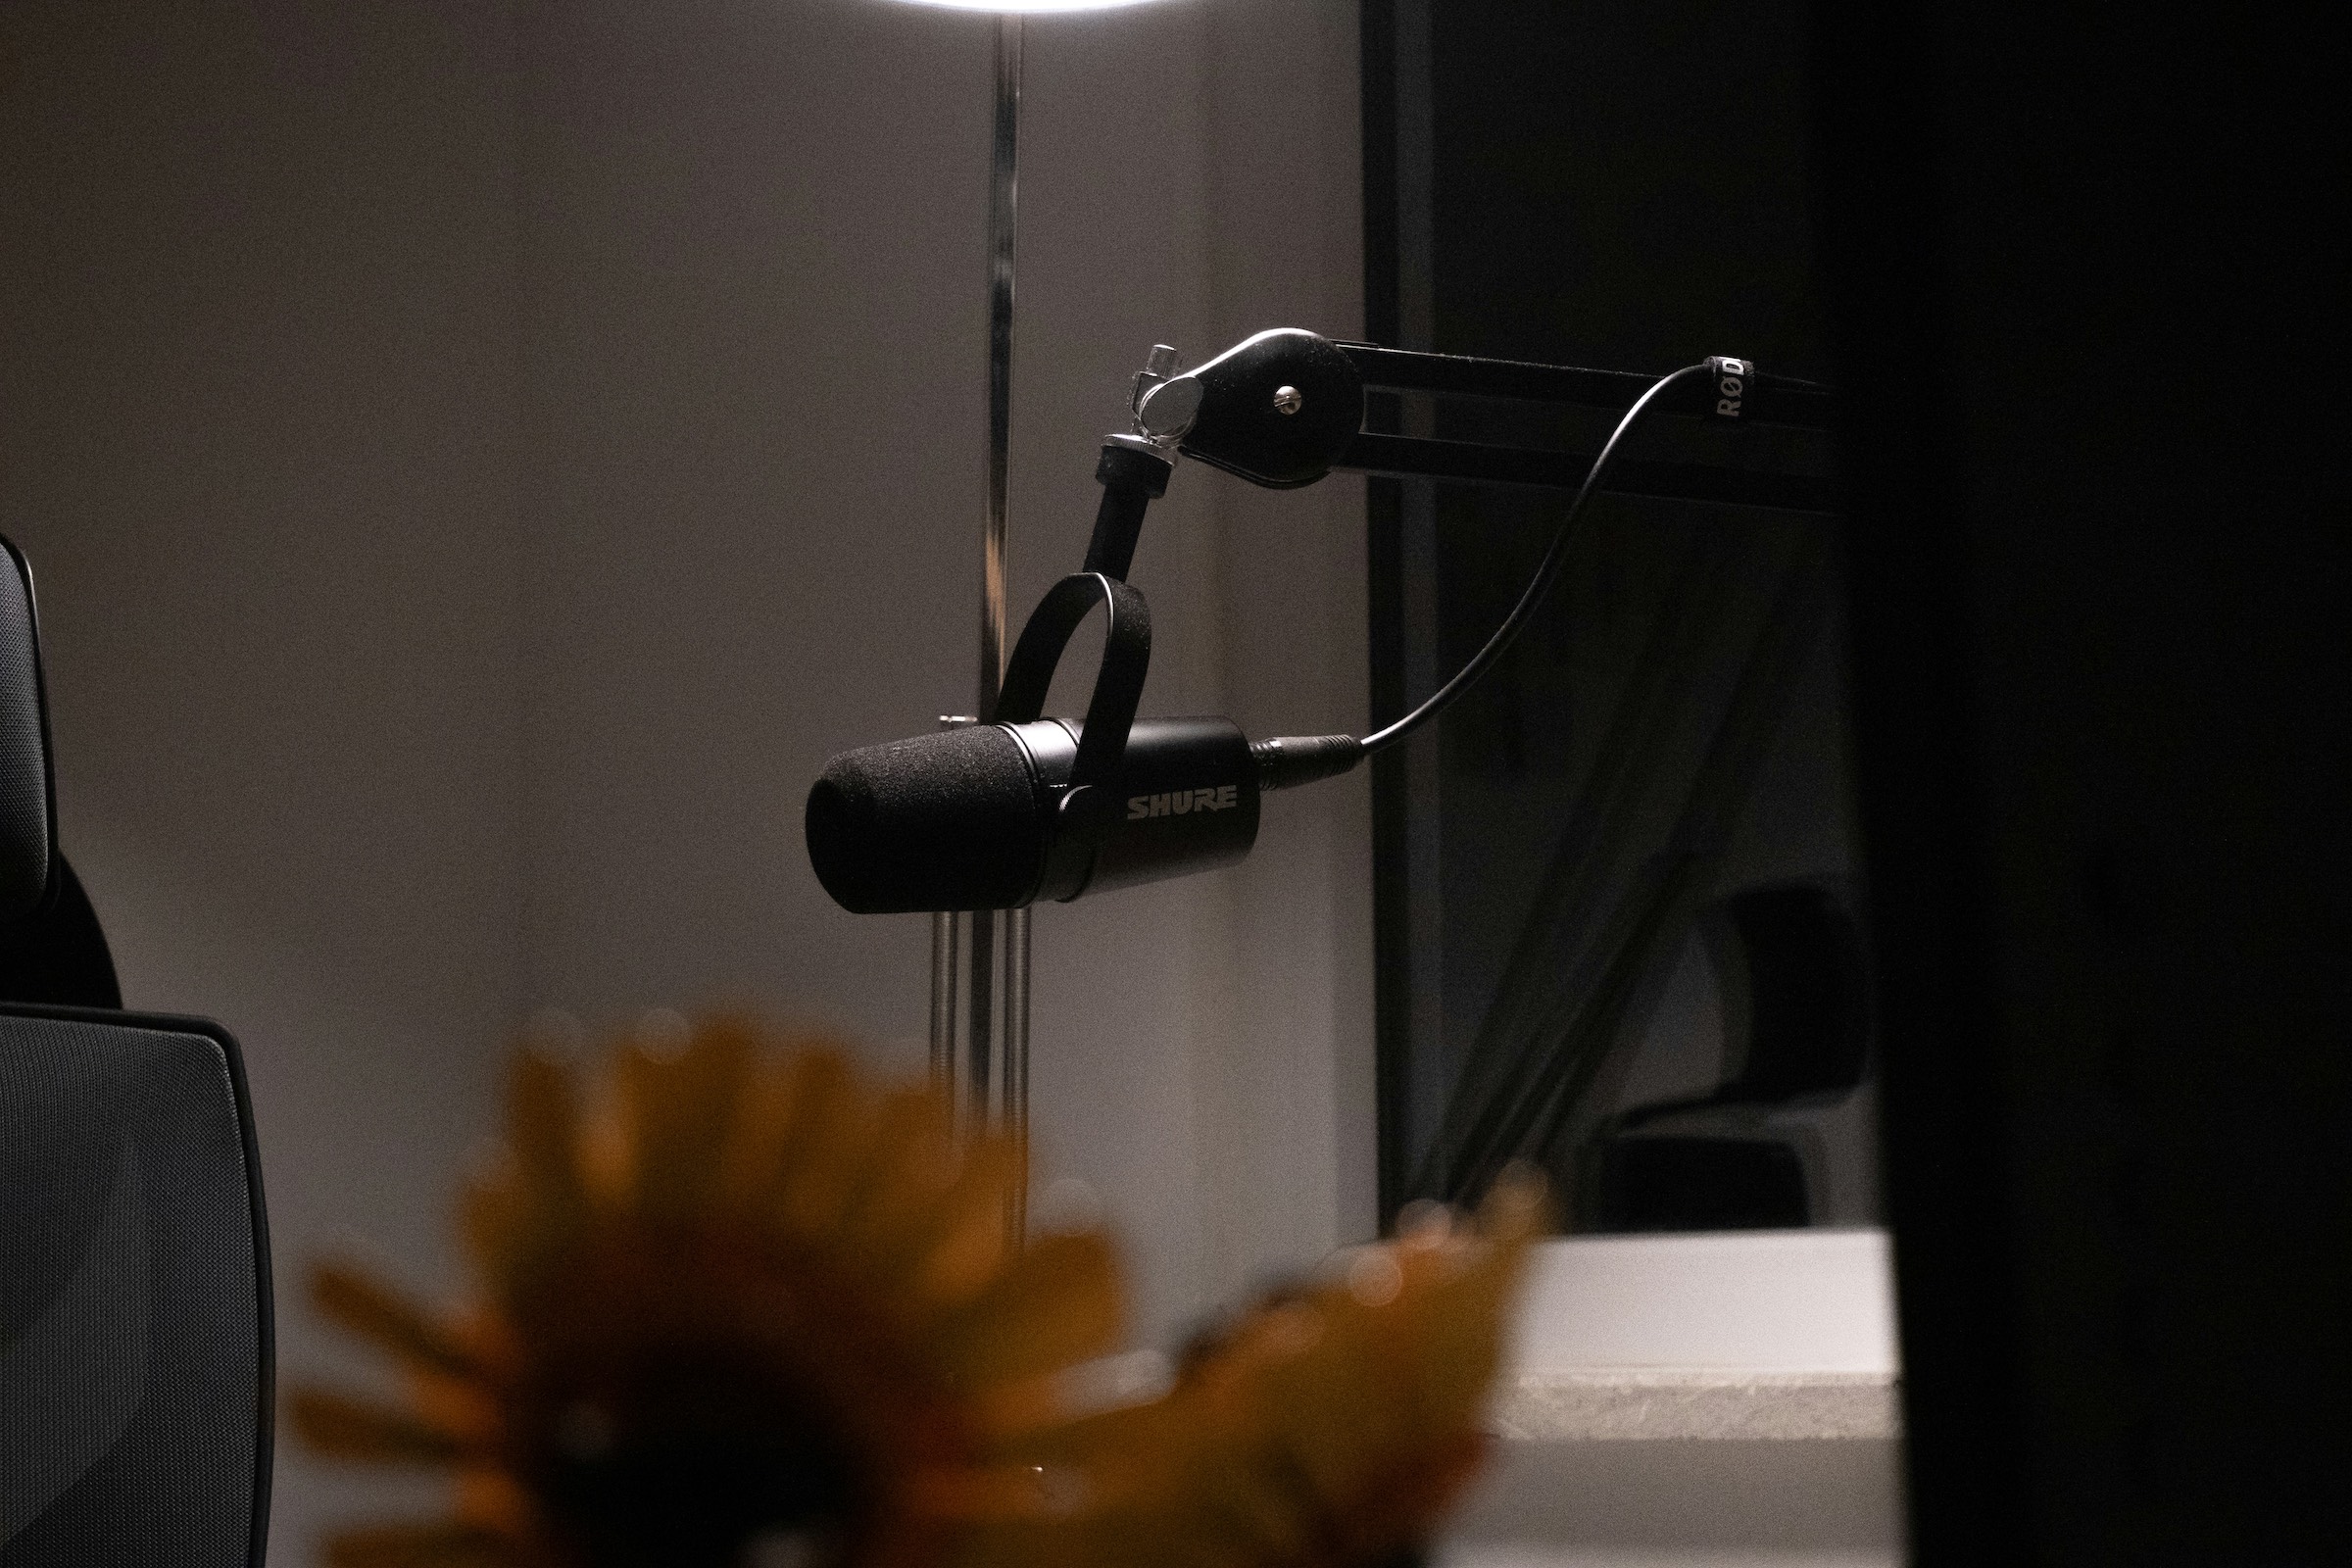
Pop filter, stands and cables
Once you’ve purchased your microphone and audio interface, you’ll need to get essential accessories like a pop filter, microphone stand, and XLR cable. These things are absolutely necessary for good sound quality, but they don’t have to be expensive.*
We recommend the following products:
- TONOR microphone stand – £29.99 on Amazon: Always use a floor boom stand when doing voice work – desktop stands can pick up unwanted vibrations.
- Aokeo professional microphone pop filter - £12.50 on Amazon: A pop filter is absolutely essential for voiceover artists as it reduces the harsh ‘pop’ of plosive sounds (P’s and B’s.
- Stagg SMC6 6 metre XLR cable – £6.49 on Amazon.
Some microphones, like the RODE NT1, come with accessories like a pop filter and XLR cable when bought new.
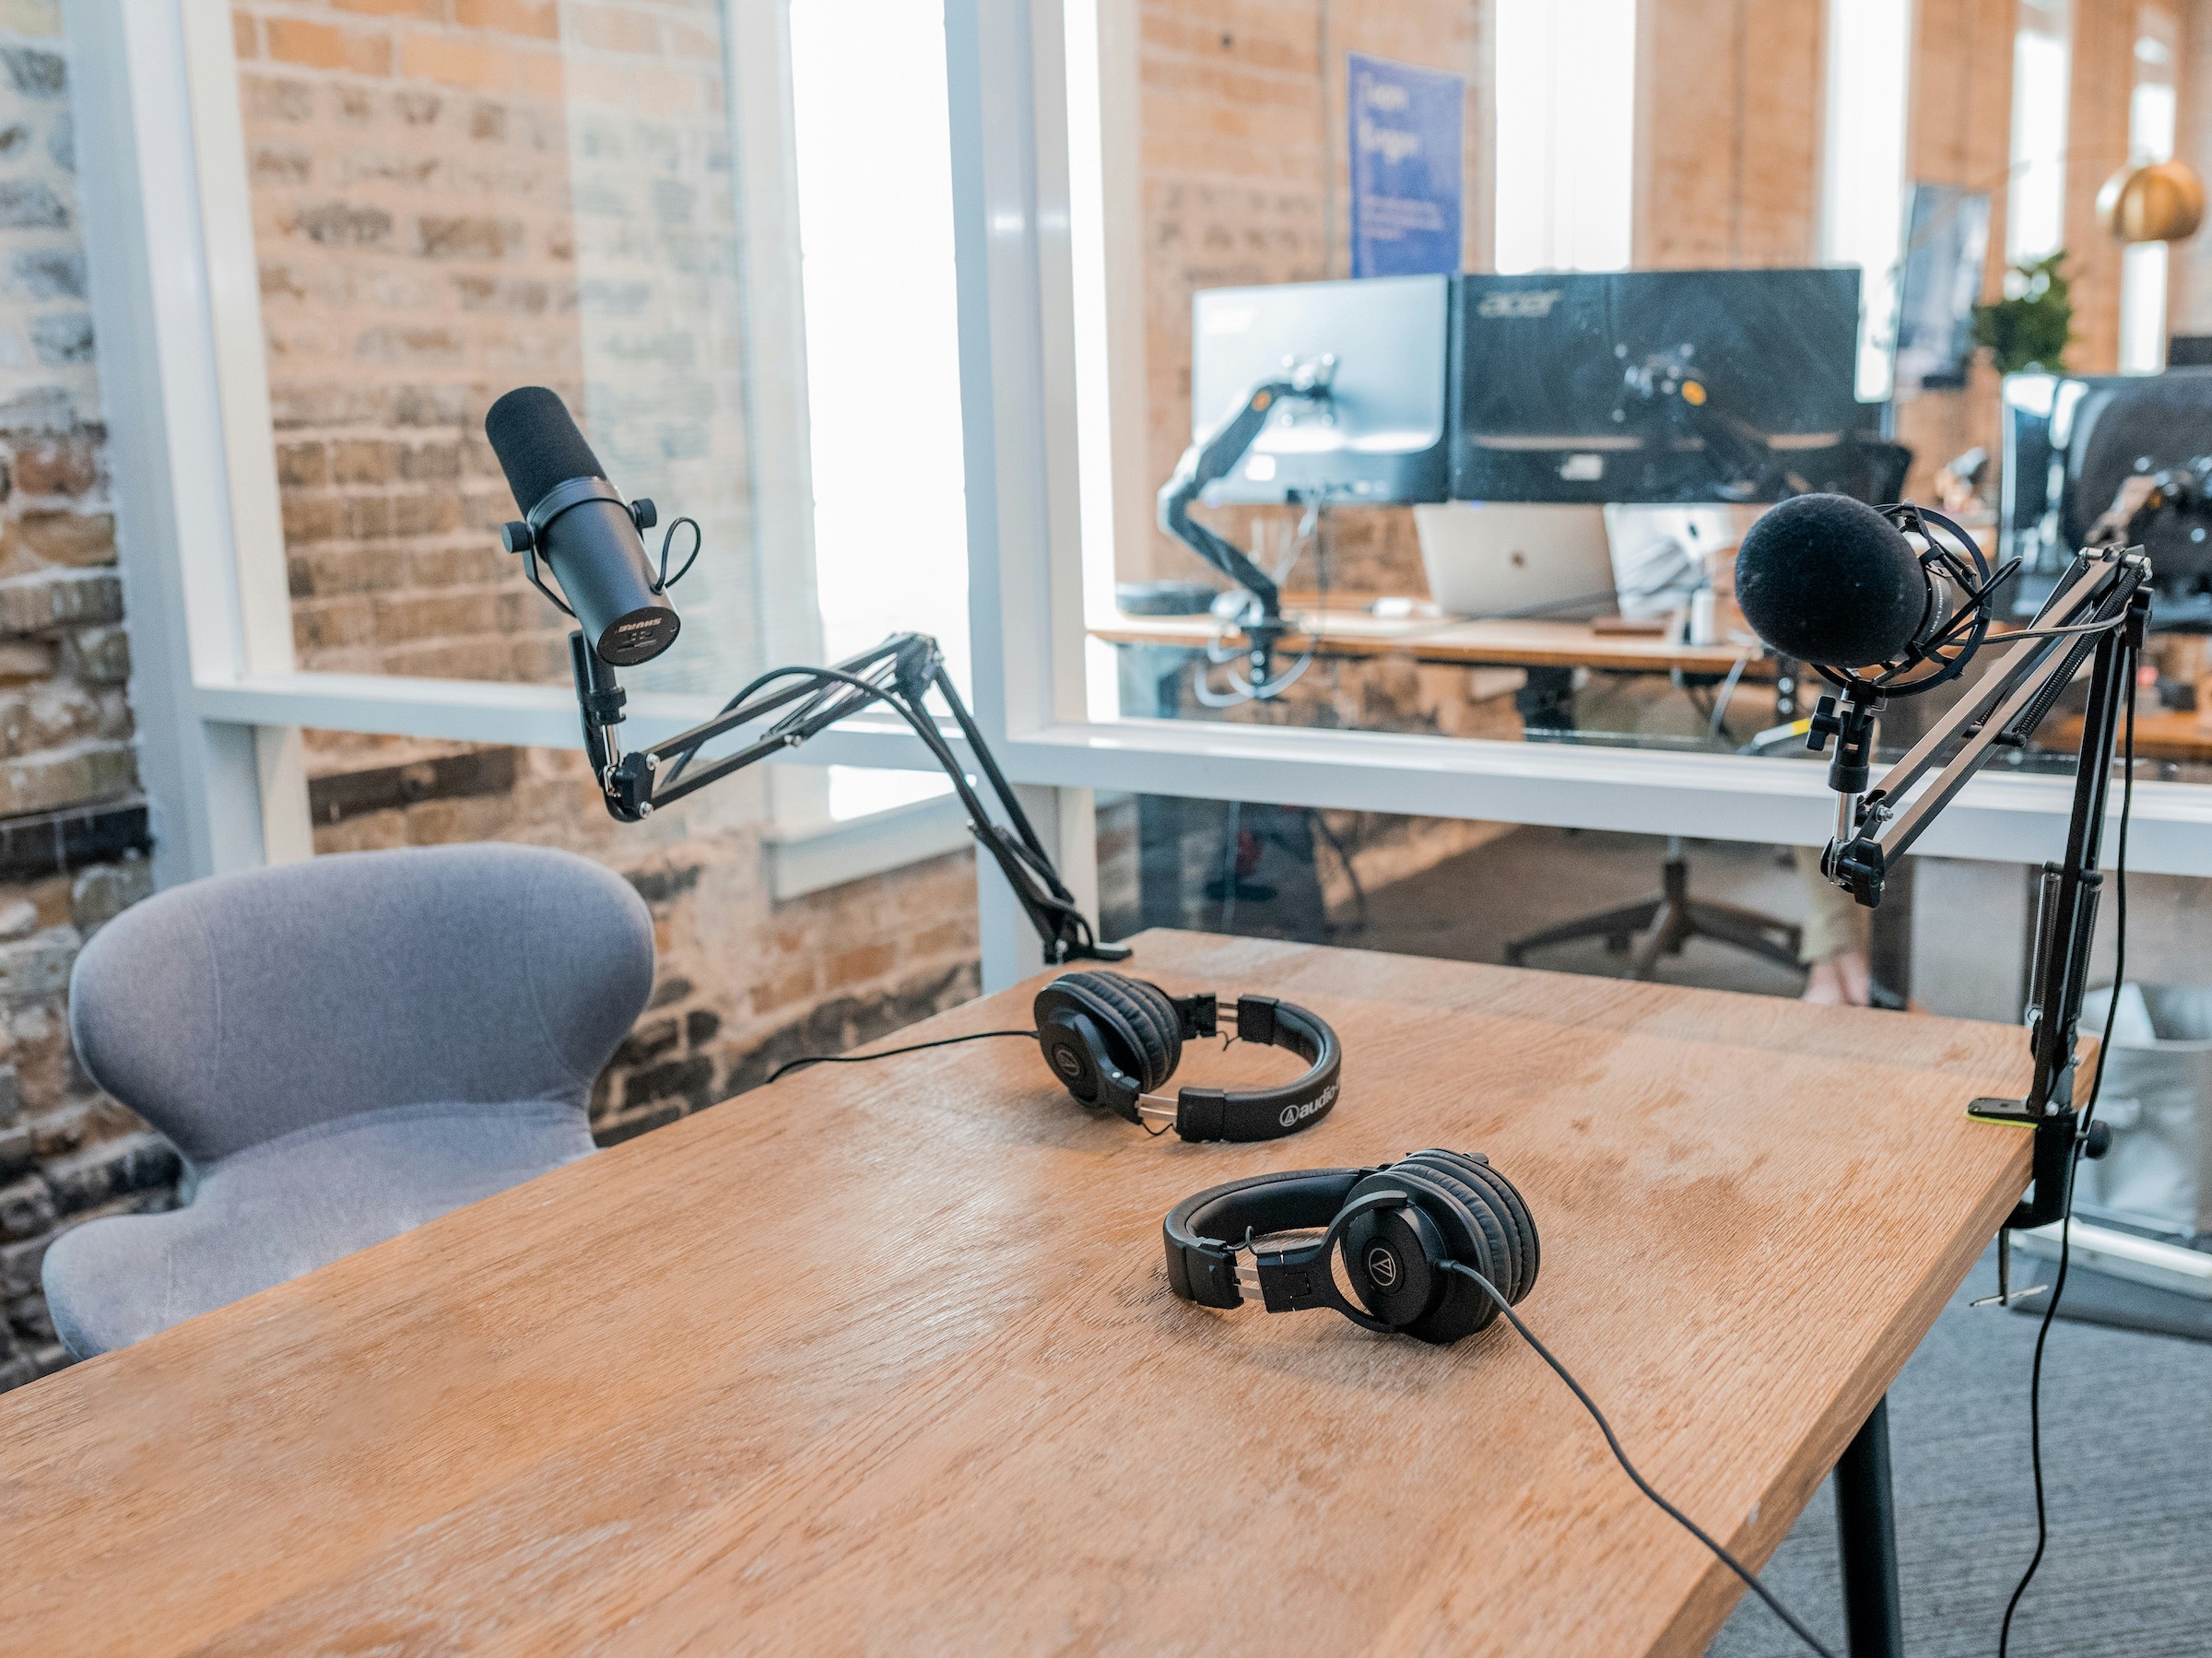
Headphones
The last piece of physical gear you’ll need to consider for your home studio is headphones. These can vary hugely in price, so it’s important you know what you’re looking for when working with a small budget.
When choosing headphones, you’ll want an over-ear pair that offers good accuracy, isolation, and comfort (as you’ll likely be wearing them for hours!).
Here’s a quick rundown of what you need and why it matters:
- Closed back design: Prevents sound produced by the headphones from being picked up by your microphone.
- Neutral sound: Allows you to hear your voice clearly and accurately.
- Comfortable fit: If possible, go to a store and try on different pairs of headphones to see how comfortable they are. You’ll need something you can wear for hours on end without them hurting.
- Low impedance (<100 ohms): The lower the impedance, the easier electricity can flow through an object. Low impedance headphones work well with most interfaces and will help you hear the audio loudly and clearly.
- Detachable/long cable: Choose a pair with a long or detachable cable so that you can move around easily in your space e.g. from your microphone to your desk. Don’t opt for a Bluetooth/wireless pair of headphones – these can cause lag, have an unreliable connection, and generally produce lower quality sound.
We recommend the following headphones for voiceover work:
Remember, if the above recommendations don’t suit your budget, you can always buy secondhand!
Software
Assuming you already have a laptop or computer, the final thing you’ll need for your home voiceover studio is audio editing software. The good news is that voiceover artists don’t need to invest in professional studio software. In fact, many artists and beginners get by using free programs like Audacity.
Here are the key features to look for when choosing your audio editing software:
- Recording takes
- Cutting and trimming (for breaths and/or mistakes)
- Exporting files in the correct formats for your clients
- Cleanup tools (clicks, background hiss etc.)
- Mastering (although this is only necessary for audiobooks for long-form narration)
Here’s our recommended list of audio software for voiceover artists on a budget:
Audacity – free
Audacity is the most popular audio recording and editing tool in the world, and for good reason – it’s free! The program is relatively easy to use, so it’s ideal for beginners and voiceover artists looking for a simple way to record and edit projects.
The only downside to Audacity is that it’s a destructive editor, meaning any changes you make to your project are permanent unless undone immediately.
Reaper – $60
Reaper offers professional-grade audio editing features without the price tag. It’s preferable to Audacity in its customisation options and functionality, but these also mean the program comes with a steeper learning curve. That said, there are tons of tutorials available both on YouTube and Reaper’s online forum. You can check out their Newbieland thread for FAQs and popular how-to guides.
Adobe Audition – free for Creative Cloud users or £21.98/mo
If you already have an Adobe Creative Cloud membership, you can access Adobe Audition at no extra cost. Like other Adobe programs, the software is feature-rich, has an intuitive user interface and is used by many professional studios.
Budget breakdown
As a recap, here’s everything you need for your home voiceover studio, and what it might cost.
- Acoustic panels, portable vocal booth, or blankets: £0-£50
- Microphone: £200-£300 (or ~£100+ if bought secondhand)
- Audio interface: £100-£140 (or ~£50+ if bought secondhand)
- Pop filter, mic stand, and XLR cable: £50
- Headphones: £86-£125 (or ~£50+ if bought secondhand)
As you can see from the above list, you can set up your own home studio for around £500, or potentially much less if you can find great secondhand deals!