How to Record Remote Podcast Interviews Like a Pro
Learn how to record remote podcast interviews like a pro. From syncing audio to lighting your guests properly, our guide shares advice on every aspect.
Learn how to record high-quality remote podcast interviews. From syncing audio to lighting your guests properly, our guide shares tips and advice for every step.
Remote podcasting opens up a whole world of opportunities that aren’t possible in a traditional setting. From minimal setup costs to the ability to interview guests around the world, remote podcasting has many benefits and is becoming the new norm as a result.
Thankfully, it’s never been easier to record podcasts remotely. Almost anyone can set up a podcast from their own home, as it requires little more than a computer and a good microphone.
Achieving good audio and video quality as a solo podcaster is relatively simple. But recording guests remotely is a little trickier, with internet connection, consistent video quality, and sound syncing to consider.
Below, we share our expert-recommended tips on how to record remote podcast interviews like the pros. We’ll share guidance on everything from achieving good audio and video quality, to what gear and platforms to use.
Recording remote podcast interviews: the fundamentals
A few key aspects can make or break your podcast – these include the audio, video, and production quality, editing, and the content itself. A great remote interview will have:
- Crisp, clear audio.
- Consistent video quality (especially if you want to share the clips on social media).
- Natural, flowing conversation (no lag or awkward silences).
- Matching production quality between you and your guest.
Achieving all of this requires a good setup, thorough planning, and avoiding common mistakes such as:
- Relying on just one recording source e.g. Zoom.
- Not prepping your guests on best practices e.g. trying to record in a noisy room.
- Failing to eliminate distractions such as bad lighting or a messy background.
- Not having a backup plan in case of technical issues (because they always happen when you’re least prepared!).
The good news is you don’t have to have expensive equipment or expert knowledge to record high-quality remote podcasts. It’s all about using the right tools and platforms, and following the guidelines we outline below.
Audio
Although many popular podcasts now include video, it’s still primarily a sound-based medium, with most people listening rather than watching. This means audio quality should remain your top priority – poor sound quality will turn off listeners fast.
You don’t need an expensive studio to get good sound, though – the right method, equipment, and a few simple optimisation techniques usually do the trick.
Double-ender recording
Double-ender recording is a technique where both parties record their own audio locally on their device. This allows you and your guests to record audio from different locations without relying on a live internet connection to capture the conversation.
As this technique captures each voice in full, uncompressed quality, it can save you from technical issues like audio dropouts, compression artifacts, variable sound quality, and latency. Once recorded, the files can then be combined in post-production for a smooth result that sounds like both people were in the same room!
Certain tools like Riverside, Squadcast and Zencastr offer built-in double-ender recording functionality while supporting real-time conversation. After your session, these platforms automatically upload high-quality audio files for each participant, ready for you to download.
Riverside, Squadcast, or Zencastr?
These three platforms currently dominate the podcasting space. Each comes with its own strengths and key features.
Riverside
Best for: Podcasters who want to record high-quality audio and video, offering advanced features for repurposing content or uploading to social media.
Key features:
- Records up to 4k video locally
- Separate audio and video tracks for each podcast participant
- Files upload during and throughout the session to prevent data loss
- Has a built-in editor for clipping content for social media
- Live call-ins and audience participation features
- Green room feature to prep guests before recording
- Multi-format export options
Squadcast
Best for: Podcasters who want a simple, reliable podcast recording tool without advanced editing functionality, and those with only the occasional need for video.
Key features:
- Studio-quality audio recording
- Separate audio and video tracks
- Cloud backups with progressive uploads
- Green room feature to prep guests before recording
- Multi-format export options
Zencastr
Best for: Podasters on a budget looking for a free or more affordable option with reliable audio recording.
Key features:
- High quality audio recording with separate tracks for each participant
- Video recording
- Automatic local backups
- Free plan available (with some limitations)
Audio tips for you and your guest
Even a professional-grade microphone won’t save your podcast’s sound quality if you aren’t recording in a suitable environment. Here’s how to optimise your recording space easily and for free:
- Recording in a quiet space: Choose somewhere without risk of disruption, like a bedroom or home office.
- Reduce background noise: Turn off large appliances like AC, and close windows to reduce any noise coming from outside.
- Use soft furnishings to absorb sound: Curtains, cushions, and blankets are great sound absorbers and can help reduce echo and tinniness.
- Wear headphones while recording: Doing so can help avoid audio from your computer bleeding back into your microphone.
For more tips on how to improve sound quality, check out our blog on How To Get Great Sound Quality For Your Podcast On A Budget.
Microphone options for every budget
If there’s one piece of equipment worth investing in for your podcast, it’s a microphone. But you don’t have to spend a fortune to get a microphone that sounds good. Here are some expert-recommended microphones to suit every budget:
Budget-friendly mic (under £50): Fifine K669B
Mid-range mic (£100-£200): Rode NT-USB Mini
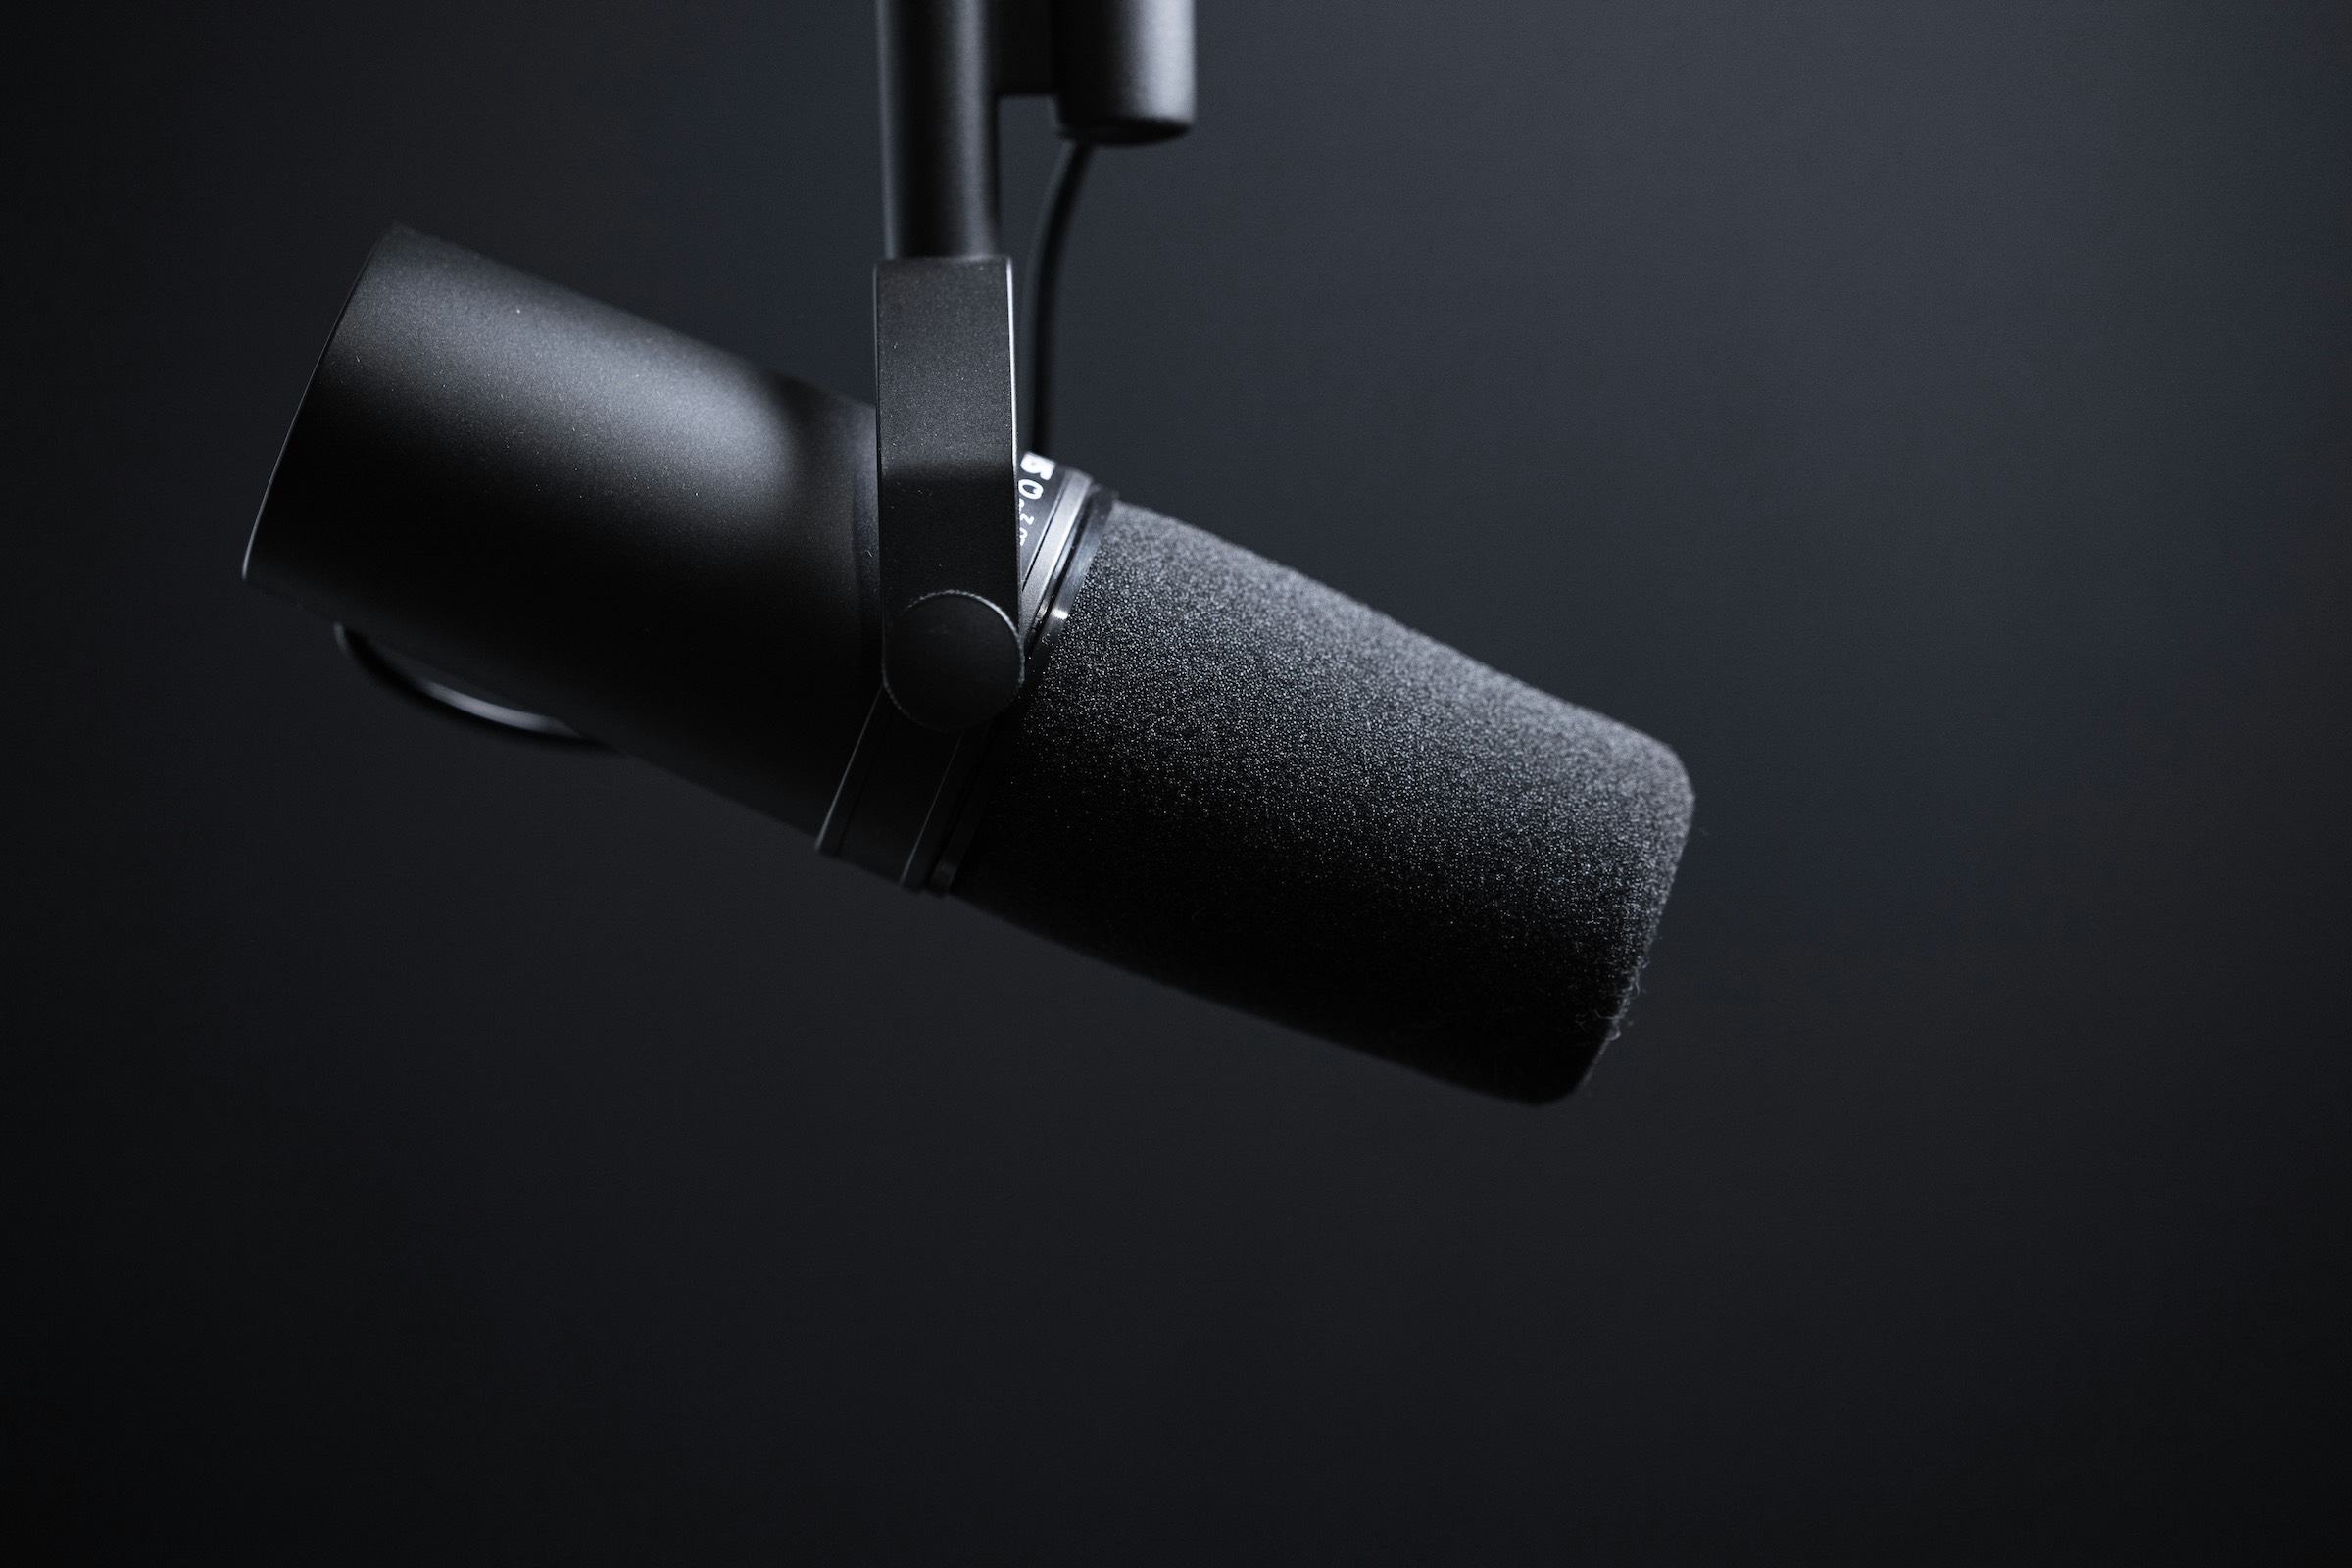
Professional-grade mic (£200+): Shure SM7B (requires audio interface)
What if your guest doesn’t have a mic?
It’s likely that some of your guests won’t have access to an external microphone, but that doesn’t mean they’ll sound bad. Here are some tips to share with them pre-interview to help them get the best sound from their existing equipment:
- Use headphones with a built-in mic: Some built-in headphone microphones are surprisingly good. Using headphones will also help reduce echo and background noise.
- Reduce distance to their mic: If your guest is using their device’s built-in microphone, encourage them to sit as closely as possible to it to avoid sounding distant or echoey. Remind them to face the device directly when speaking.
- Choose a quiet, carpeted space: Remind your guests to turn off background noise sources and record in a place without disruptions.
Video
Most popular podcasts now give their audience the option to watch as well as listen. Video helps build your brand and audience connection, not to mention it gives you much more repurposeable content to work with than audio-only podcasts. Plus, social media platforms like TikTok and YouTube are great places to promote your podcast to new audiences. With all this in mind, it’s worthwhile recording video as part of your podcast experience.
Is a good camera essential?
You don’t necessarily need a professional-grade camera to achieve high-quality video for your podcast. Here are the different options you can choose from, ranging from beginner to pro:
- Your laptop’s built-in webcam: The quality of built-in webcams varies greatly. If your built-in camera quality isn’t great, take extra care with your positioning and lighting (more on this in the next section).
- External plug-in webcam: Plug-in webcams usually record in full HD 1080p, which is the right quality for social media and much better than what many built-in camera options can provide. We recommend the Logitech C920 for an affordable webcam option under £100.
- Smartphone camera: Most modern smartphones can capture excellent video quality, especially when stabilised with a simple tripod or stand. Use an app like Camo to double your phone as a webcam and record remote podcast interviews in HD or 4K.
- DSLR/mirrorless camera: If you’re looking for the best possible camera quality, you’ll want to connect a DSLR or mirrorless camera to your computer with a capture card like the Elgato Cam Link.
If you’re using a platform like Riverside or Squadcast, make sure you’ve selected the highest possible resolution before starting the session. Recording in higher quality means you’ll have more flexibility to zoom in or add effects during editing.
And don’t forget to clean your camera lens before hitting record – a smudged lens will massively decrease the quality of your image!
Framing, lighting, and background
Whatever camera you have, good framing, lighting, and background can instantly make your video feel more professional. Keep these tips in mind:
Lighting:
- Illuminate your face with natural light if possible. Sit facing a window if you can – mid-morning or late afternoon light is usually the softest and most flattering.
- Use sheer curtains to soften harsh natural light.
- Avoid backlighting as it will make you appear dark and shadowy.
- If you can’t use natural light, use a ring light to illuminate your face – just make sure your face is evenly lit and that the light isn’t so bright that it washes you out.
- If you don’t have access to a ring light or natural light, you can even use two desk lamps positioned on either side of your face to reduce shadows.
Framing:
- Place your camera at eye level for the most natural, flattering angle.
- Frame yourself so that your eyes are roughly one-third from the top of the screen, rather than dead centre.
- Leave a small amount of space above your head.
Background:
- Keep your background clean and uncluttered to avoid distracting viewers. Bookshelves, plants, or a simple, tidy space work well.
- You can even position yourself in front of a plain wall if needed.
Share the above guidelines with your guests before the interview for the most consistent and professional results. You can even send them a quick checklist to tick off the morning of the interview to help them prepare.
Internet connection
Even with the very best equipment, poor internet connection can sabotage your remote podcast interview in seconds. Choppy audio, frozen video frames, and lagged responses are not only frustrating for you and your guest – they can make your recording unusable.
Fortunately, there are a few things you can do to minimise the chances of any dropouts, as we’ll outline below.
Use a wired (Ethernet) connection
Connecting your device directly to your router will make the connection faster, more stable, and less prone to interference. If your laptop doesn’t have an Ethernet port, you could purchase a USB-C or USB-to-Ethernet adapter.
Optimise and test your Wi-Fi
If an Ethernet connection isn’t possible for you:
- Position your device as close to the router as possible.
- Disconnect other devices from the Wi-Fi before recording to strengthen the connection.
- Switch to the 5GHz band on your router if possible for faster, more stable speeds.
You should also test your internet speeds before your session using a service like Speedtest. For HD video calls, you’ll want at least 5-10 Mbps upload and download speeds. For 4K resolution, you’ll want 15 Mbps upload speed or higher.
Pro tip: If multiple people in your household or environment are using the internet at the same time, it could slow your connection. This is especially true if they’re streaming video or gaming. Schedule your recordings at low-traffic times to maximise available bandwidth.
Close background apps and delete unused browser extensions
Running too many apps or browser extensions can slow your computer down and use up a lot of bandwidth. Cloud backups, file sharing apps, and streaming services are particularly taxing on your connection, so close all unnecessary programs before you hit record.
Use backups
A backup plan is essential, even if you’ve done everything in your power to stop connection dropouts from happening. You should agree on a fallback communication method (like a regular phone call) to reconnect if the call drops.
We also recommend asking your guest to record local audio on their phone or through voice memo apps as a precaution. This will ensure you have the audio file no matter what happens.
Use a remote podcast recording platform
Platforms like Riverside, Squadcast, and Zencastr use local recording technology, so your audio and video files remain intact and high quality, even if your internet connection drops out.
These platforms also upload files progressively to the cloud during the session, reducing the risk of losing your data if someone disconnects unexpectedly. Plus, they even offer automatic backups and will alert you if uploads are incomplete, giving you extra reassurance that your recording is safe.
Recording apps
Recording high-quality remote podcast interviews isn’t just about the equipment – it’s also about using the right apps to make your life easier.
Teleprompter Pro
Even if you’re a confident speaker, it’s easy to lose your train of thought during a remote podcast interview – especially when you have to manage all the technical stuff.
By using a teleprompter app, you can deliver your intro and outro scripts or sponsor announcements confidently while looking at the camera. Plus, you can keep interview questions visible without looking away from your screen.
Teleprompter Pro is also fully customisable – you can adjust the scroll speed to match your natural speaking pace, so that the scripted parts blend seamlessly with the rest of the conversation.
Coordinating with your guest
Preparing your guests is just as important as preparing your gear – a podcast is only as strong as its guest experience! Here’s how to make your guest feel confident, relaxed, and prepared to deliver value to your audience.
Send a pre-interview checklist
Sending a pre-interview checklist will help you avoid any unwanted surprises at the last minute. Here are some things to include:
Tech setup:
- Confirm which platform you’ll be using.
- Send a test link if needed and test each party’s microphone and webcam.
- Ask your guest to wear headphones to prevent echo and feedback.
Environment:
- Choose a quiet, echo-free room with soft furnishings.
- Sit facing a window for natural light, or use a ring light instead.
- Avoid sitting in front of bright lights or a window.
- Ask your guest to make sure their background is clean, tidy, and free from distractions.
Timing and flow:
- Confirm the date, time, and time zone of your interview.
- Let them know how long the recording will take.
- Brief them on the interview structure.
- Share any pre-planned questions or topics so they have a chance to think about what they’ll say.